Install, Set up, and Deploy the LEADTOOLS Virtual Printer Driver
This tutorial shows how to install, set up, and deploy the LEADTOOLS Virtual Printer Driver using the Virtual Printer Driver Deployment Tool.
| Overview | |
|---|---|
| Summary | This tutorial covers how to install, set up, and deploy a Virtual Printer Driver using the Virtual Printer Driver Deployment Tool. |
| Completion Time | 30 minutes |
| Visual Studio Project | N/A |
| Platform | C# Windows Console Application |
| IDE | Visual Studio 2022 |
| Development License | Download LEADTOOLS |
Note: The LEADTOOLS Main Installation installs the Virtual Printer Driver on the development machine during its initial installation process. During the installation, a prompt appears that asks for permission to install the virtual driver. Installing the driver via the main installation is the easiest way to start using the Virtual Printer Driver. This tutorial is meant to help developers with deploying the driver along with their application.
Required Knowledge
Before any functionality from the SDK can be leveraged, a valid runtime license will have to be set.
For instructions on how to obtain a runtime license refer to Obtaining a License.
Create the Deployment Package
Build and run the project at the below default installation path on your development machine:
<INSTALL_DIR>\LEADTOOLS23\Examples\VirtualPrinter\DotNet\VirtualPrinterDriverDeploymentTool
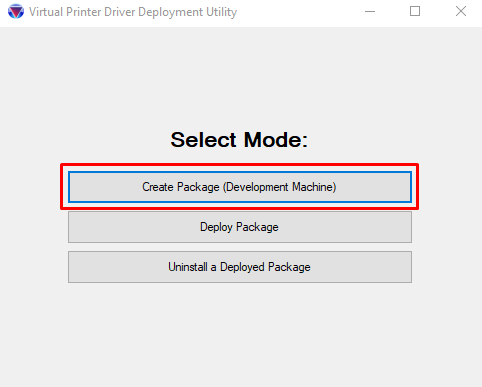
Click the Create Package (Development Machine) button.
The latest v23 LEADTOOLS SDK installation should already be set to the default SDK's installation path. If not, simply use the Browse button and select the root to the LEADTOOLS SDK installation.
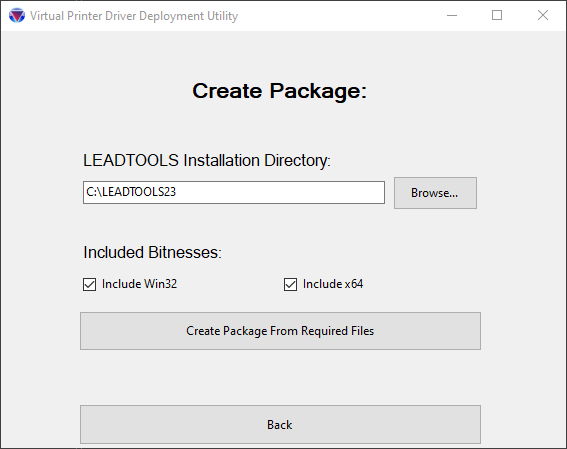
Ensure the architecture to deploy is selected. In general, include both Win32 and x64 when generating the package, as it provides the flexibility to choose which to use during deployment.
Click the Create Package From Required Files button.
A Save As file dialog window will open, prompting for a location to save the Package.zip. For the purposes of the demonstration, C:\temp\Package.zip is used.
After clicking the Save button, a confirmation dialog should display to confirm the package was created.
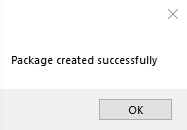
Copy Files to Deployment Machine
Build the project under Release mode, with the architecture to use for deployment, typically x64.

After the project is built, go to the output folder (actual path may change, based on architecture): <INSTALL_DIR>\LEADTOOLS23\Bin\net
Copy the following files to the deployment machine:
UtilityLibrary.dllCSVirtualPrinterDriverDeploymentTool.exePackage.zip(See the Create the deployment package section above)
Deploy the Package
Run the CSVirtualPrinterDriverDeploymentTool.exe tool as administrator.

Click the Deploy Package button
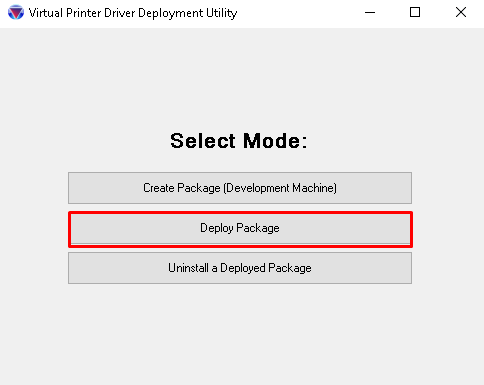
Choose your deployment destination (for this tutorial, use <INSTALL_DIR>\LEADTOOLS23).
Note: Choosing to integrate or having a deployment path of the root SDK directory is recommended. It allows users to test their development machine without worrying it will delete the required deployment files.
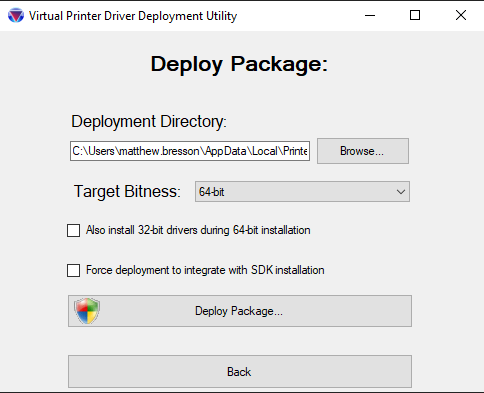
Ensure the architecture options are configured properly. If you would like to include the 32-bit driver during the 64-bit installation, that is also available.
The last check box (named Force deployment to integrate with SDK installation), is mainly for development purposes. Select this box to deploy to a folder structure similar to the full SDK. Keeping this check box clear to deploy to a simplified folder structure.
-
Structure when not checkedOutputDir\PrinterDriverOutputDir\Virtual Printer
-
Structure when checked (integrated deployment)OutputDir\Bin\Common\PrinterDriverOutputDir\Redist\Virtual Printer
When all options are configured, click the Deploy Package button.
An Open file dialog window displays, with a prompt to open the ZIP file created in the Create the deployment package section above.
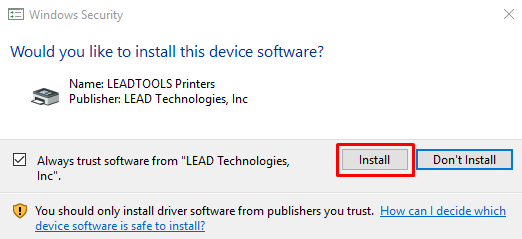
If the drivers have not been installed before, a prompt will appear by Windows Security. Be sure to click Install.
Once everything has been installed, the below confirmation dialog box should appear with a success.
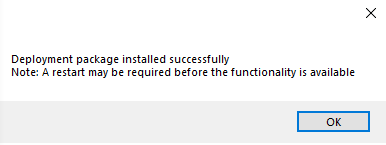
Note: A Restart of the machine may be required
Uninstall the Printer Driver
Run the CSVirtualPrinterDriverDeploymentTool.exe as admin by right-clicking the file.

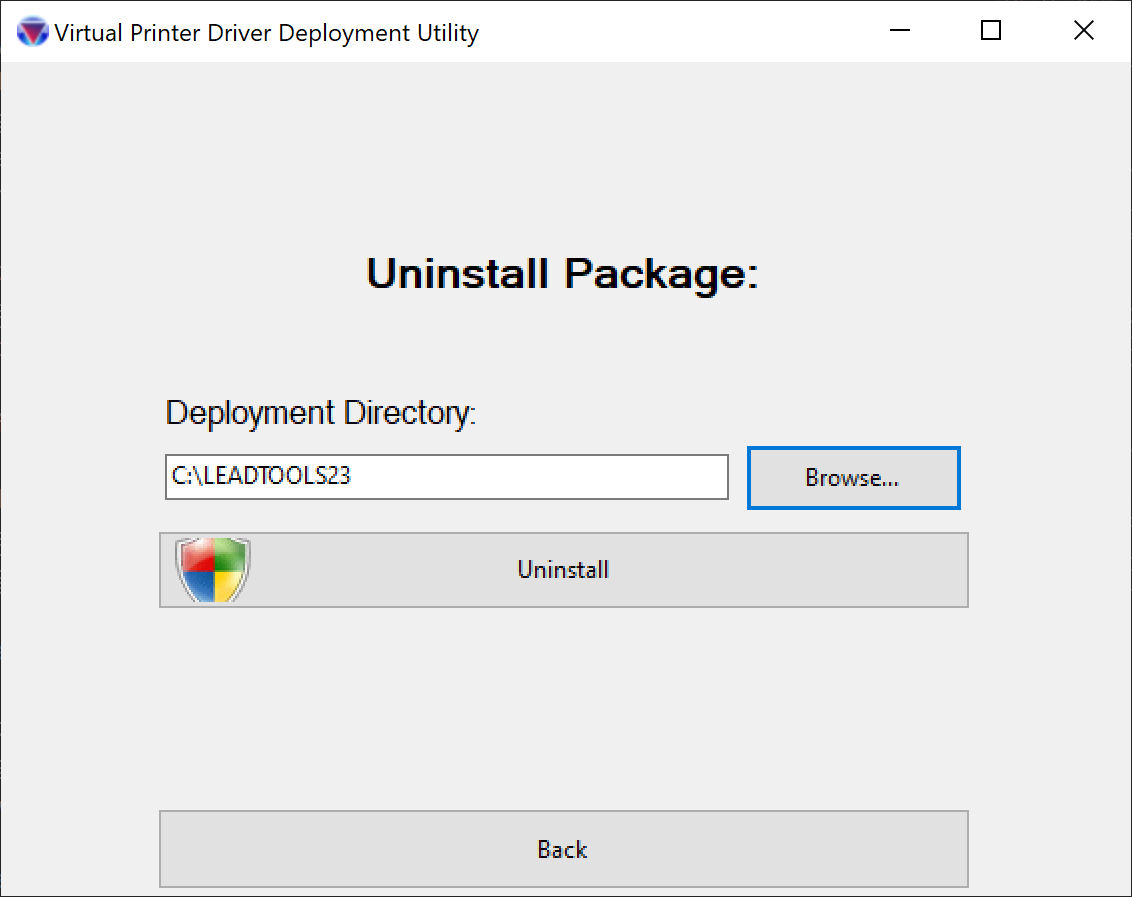
Click the Uninstall a Deployed Package button
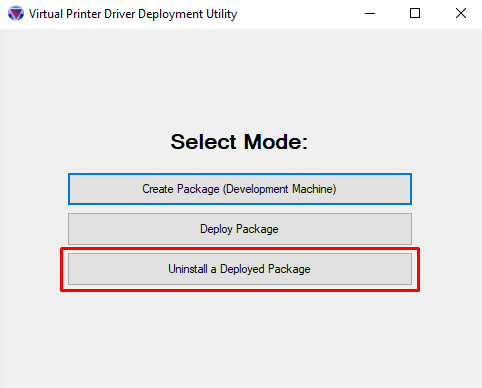
Ensure your deployment directory is selected, and click the Uninstall button.
Note: This is typically saved from the previous deployment using .NET's application settings.
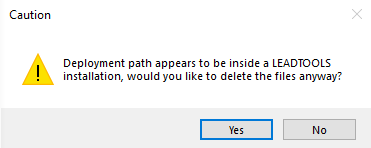
Note: If you had previously integrated your installation, or the path has
LEADTOOLS ##in the name, a prompt appears during uninstallation asking if you would like to delete the files. This allows users to test on their development machine without worrying it will delete the required deployment files.
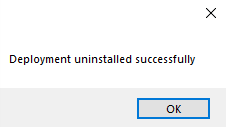
A confirmation dialog box should appear, displaying a success message.
Wrap-up
This tutorial showed how to create, install, and uninstall a deployment package using the Virtual Printer Driver Deployment Tool in C# .NET 6.
