Configuring the LEADTOOLS CCOW Dashboard Demo
The CCOW demo requires the following:
- The CCOW Server should be registered.
- The CCOW Agents should be registered.
- The CCOW Server is running (Required for CCOW web interface).
Register CCOW Components
To register\unregister the CCOW Server and COM objects:
- Navigate to "\Shortcuts\PACS\.NET Class Libraries\CCOW\" in <LEADTOOLS_INSTALLDIR>.
- Run the Register CCOW 32-bit shortcut to register the components.
- Run the Unregister CCOW 32-bit shortcut to unregister the components.
To register\unregister the CCOW Web Agents objects:
- Navigate to "\Shortcuts\PACS\JavaScript\CCOW\" in <LEADTOOLS_INSTALLDIR>.
- Run the Register CCOW Web Agents 32-bit shortcut to register the components.
- Run the Unregister CCOW Web Agents 32-bit shortcut to unregister the components.
CCOW Dashboard Demo
The LEADTOOLS CCOW Dashboard application allows you to run multiple scenarios to observe how the situations are handled in CCOW common context.
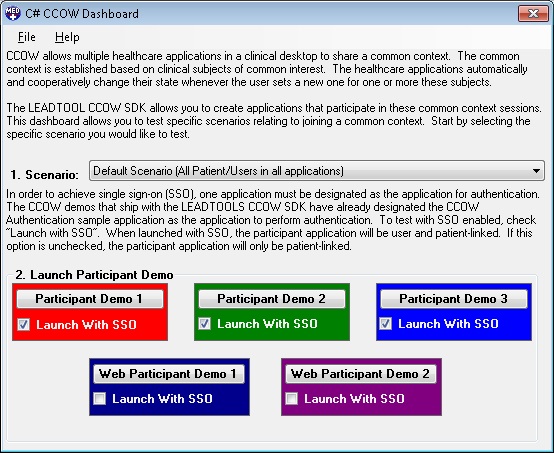
- Start the LEADTOOLS CCOW Dashboard by selecting CSCCOWWDashboard_Original.exe in the <LEADTOOLS_INSTALLDIR>\bin\Dotnet4\Win32.
-
After starting the CCOW Dashboard you will be presented with the above screen. This is the dashboard that allows you to determine which CCOW applications to run.
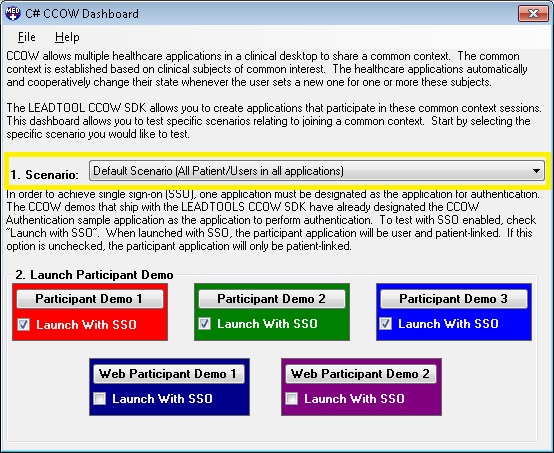
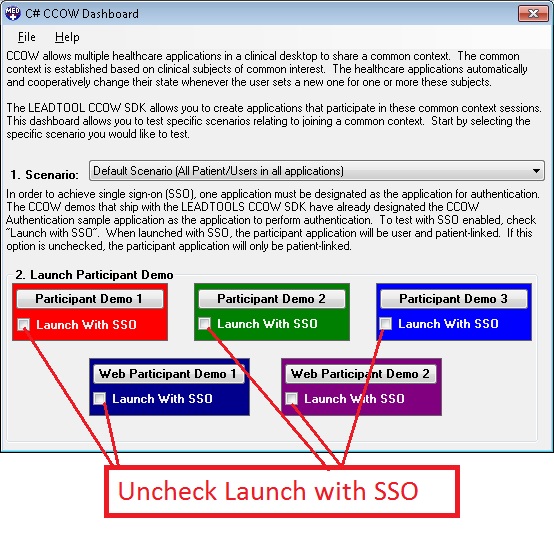
- Scenario - This selects the scenario that will be tested. The Default Scenario(All Patient/Users in all applications) is the initial selected scenario. There are two additional scenarios available: Participant 2 has one additional user not known to the other applications.Participant 3 has additional patient not present in the other participants or the master index.Note:The scenario information is stored in the following files located in the <LEADTOOLS_INSTALLDIR>\bin\Dotnet4\Win32 directory: P1_Default.scnP2_AdditionalUsers.scnP3_AdditionalPatients.scn
- Launch Participant Demo - This allows the user to launch separate instances of the CCOW Participant Demo\CCOW Web Participant Demo. When the Launch with SSO checkbox is selected the demos will operate as a participant in a single sign-on context.
-
The Dashboard demo will start the CCOW Server demo.
- If the CCOW Web Client Participation JS demo is not hosted, then the web participant demos UI will be disabled.
To Configure the CCOW Web Client Participation JS demo: click on the "Click here" link and follow the steps in the LEADTOOLS Service Host Manager to host the demo and web agents.
The Default Scenario
-
Launch the CCOW Dashboard demo.

-
Choose the "Default Scenario(All Patients/Users in all applications)
-
Click the Participant Demo1 button. This will launch the Participant Demo 1 with the Single Sign-On enabled.

-
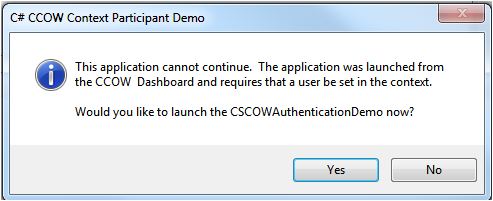
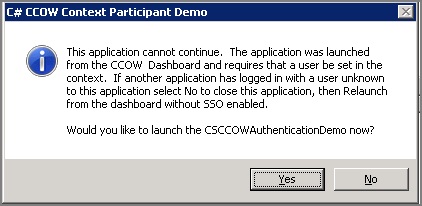
The following message will be displayed. It indicates that the application requires the user to be set in the common context. By clicking Yes the demo will launch an Authentication Demo that will set the user in the context.
-
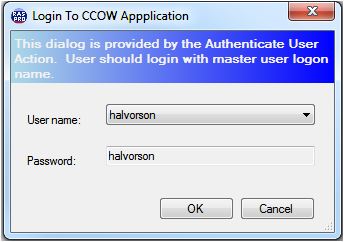
Select one of the defined users to log on to the CCOW context system. Click OK to log on.
-
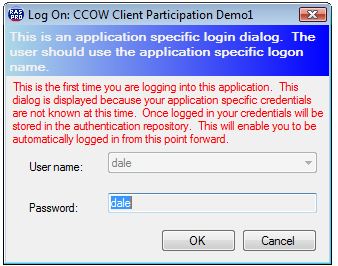
After the user is logged in as the master user the CCOW Participant client will be restarted. A message will be displayed that indicates this is the first time the user is logging into the application. The User name will be different than the master user name. This demonstrates the ability of a CCOW Authentication Repository to associate user authentication data from separate applications with different log on information to the repository.
-
Go Back to the LEADTOOLS CCOW Dashboard and click the Participant Demo 2 button.
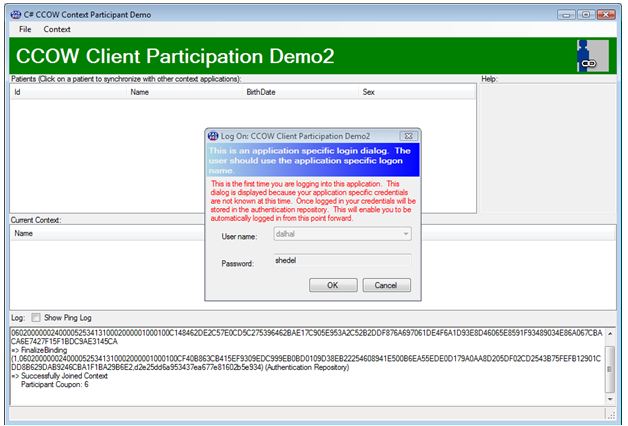
This will launch another instance of the CCOW Participant Demo.

-
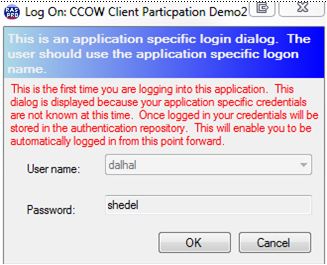
This demo displays the user information as it is known to this application. Click OK to log the user in to this application.
-
You should now have 2 participant demos running. Adjust them on your screen so that they are both visible on the screen at the same time.
-
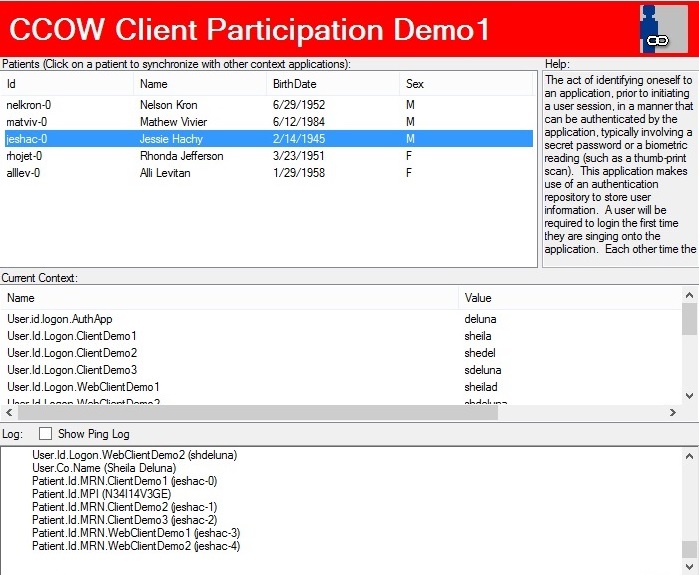
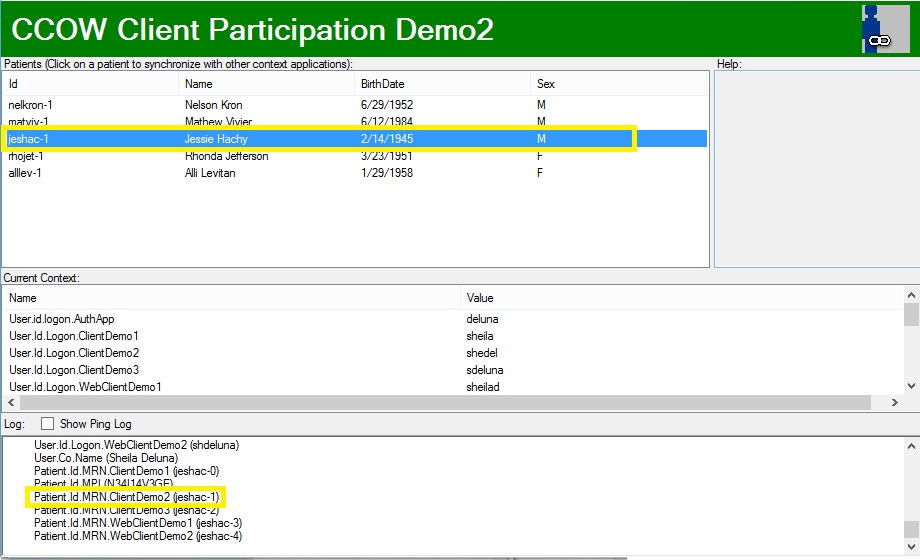
These applications are synchronized to the user and patient information in the common context. This common context has a patient mapping agent registered that maps the patient id for each application. As a result, when a patient is selected in one of the applications, the same patient will be automatically selected in the other application. To see this in action select a patient in CCOW Client Participant Demo 1.
Notice that the same patient is selected in CCOW Client Participation Demo 2.
-
Go Back to the LEADTOOLS CCOW Dashboard and click the Web Participant Demo 1 button.
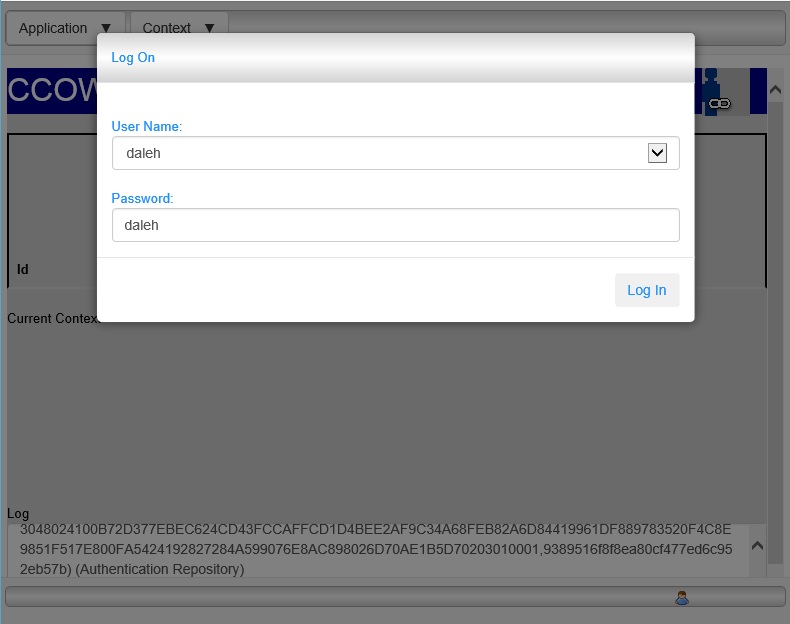
This will a new instance of the CCOW Web Participant Demo, select a user and login.

-
The Web Participant Demo 1 is synchronized to the user and patient information in the common contest. As a result, when a patient is selected in one of the applications, the same patient will be automatically selected in the other application.
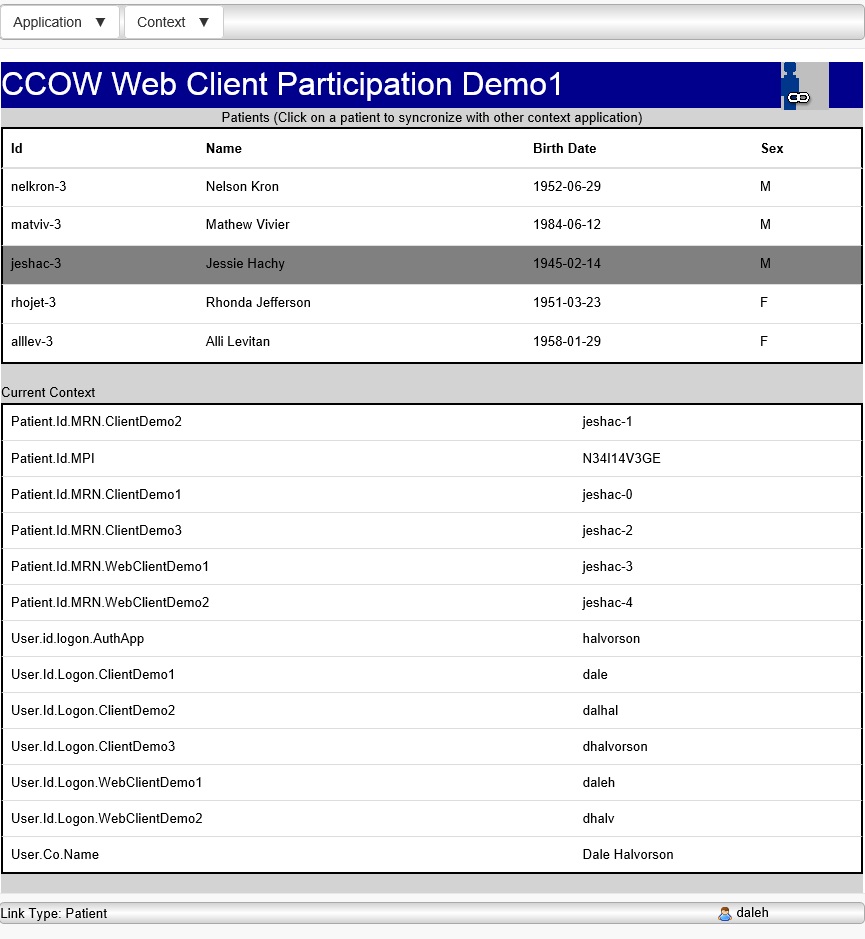
- The Web Client Service host demo will run automatically when navigating to the Web Participant Demo in the browser using the browser plug-ins (Leadtools.CcowWebParticipant.Plugin.dll and NPCcowWebParticipantPlugin.dll).
Logging Out of a CCOW Context
-
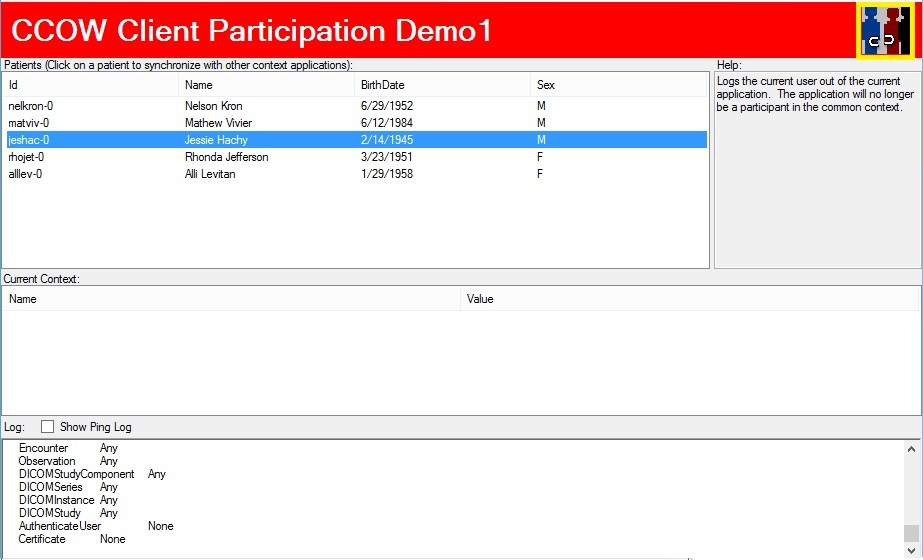
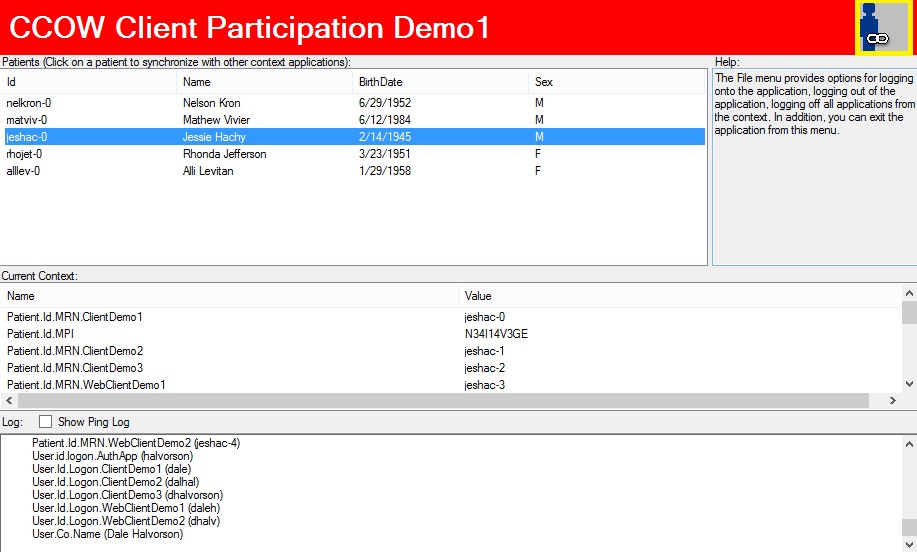
From CCOW Client Participation Demo 1 select File and click Log Off. This will log the user off of the application and remove them from the CCOW Context. Notice the change in the CCOW connection icon and the user information.
-
Select File and click Log On to log the user back on to the CCOW context. The application has been updated to show the current status.
-
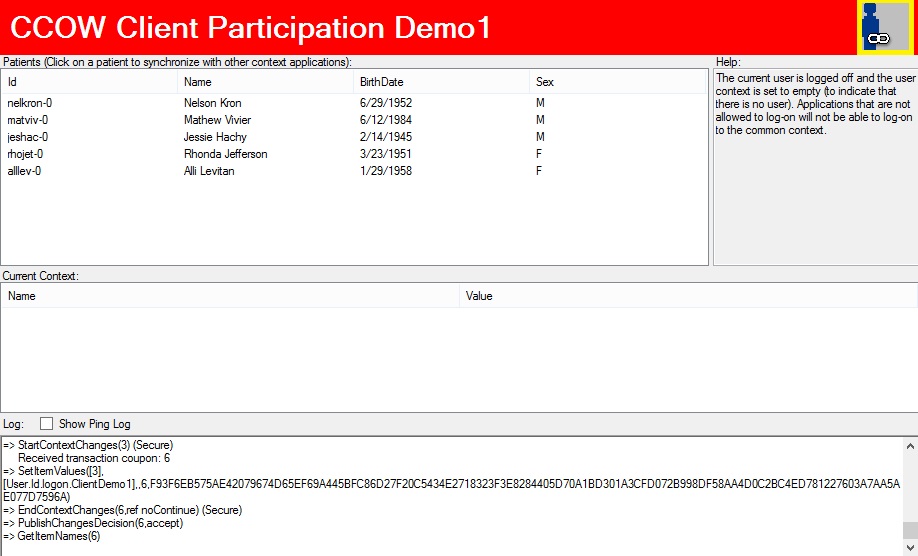
Select File and click Log Off All to log off all of the applications currently participating in the common context. This will remove the current user from the CCOW context. However, the applications will remain linked to the context. As a result, if a patient change were to occur the applications would still be notified.
-
Close the following applications:
- CCOW Client Participant Demo 1
- CCOW Client Participant Demo 2
- CCOW Web Client Participant Demo 1
- CCOW Sign-On Application
Patient Linked Only
- Switch to the LEADTOOLS CCOW Dashboard application. Launch the application if it is not running.
-
Change the scenario to Default Scenario(All Patient/Users in all applications)

-
Uncheck the Launch with SSO option.
-
Launch the CCOW Client Participant Demo 1.
-
A message will appear that explains that the application was launched with SSO disabled.
-
Click OK on the dialog.
-
Choose one of the predefined users to log on to the application. When the application is launched with SSO disabled, it becomes necessary to log onto the application. The user information is not stored in the authentication repository.
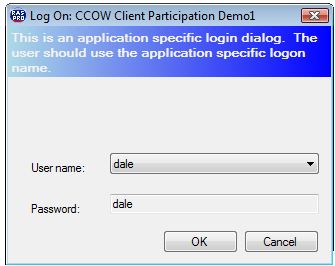
- Once logged in the behavior of the application is the same as the above. You will be able to change patients and see the corresponding patient change in the other participant demos. However, applications that are launched in this way will not respond to user changes.
Additional Scenarios
Testing the additional scenarios are the same as above. The applications are launched using the same process. However, depending on the scenario there will be differences in the appearance of the applications.
-
Participant 3 has an additional patient that is not present in the other participant demos or the master index.
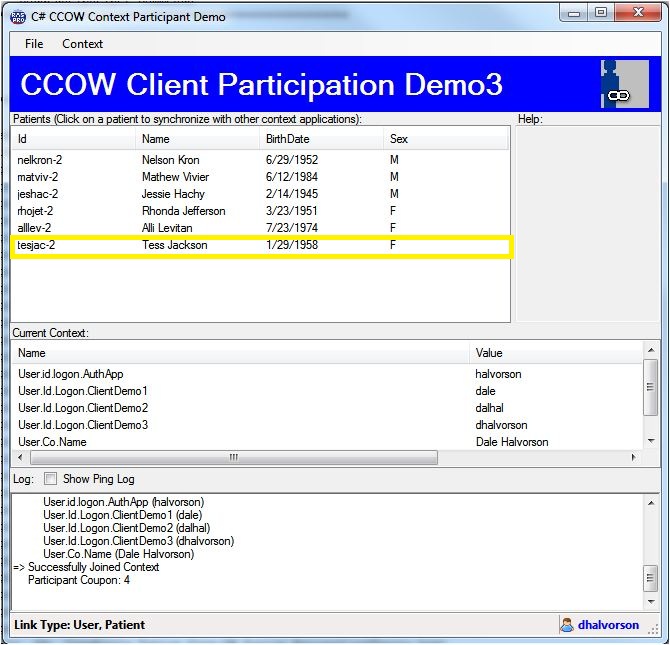
Selecting this patient will do one of the following:
- If the demo has a patient selected it will unselect the patient that is currently selected and no items will be selected.
-
If the demo does not have a patient selected no patient will be selected.
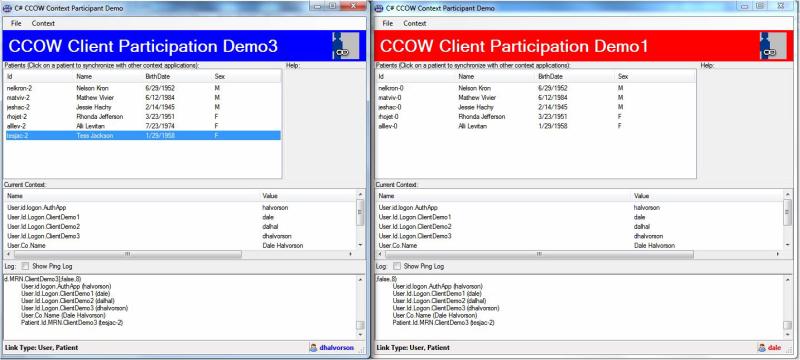
-
Participant 2 Demo has an additional user that is not known to the other participants. When the Participant Demo 2 is launched it will have one additional choice in the user selection dialog. The following behaviors will occur when selecting the extra user:
-
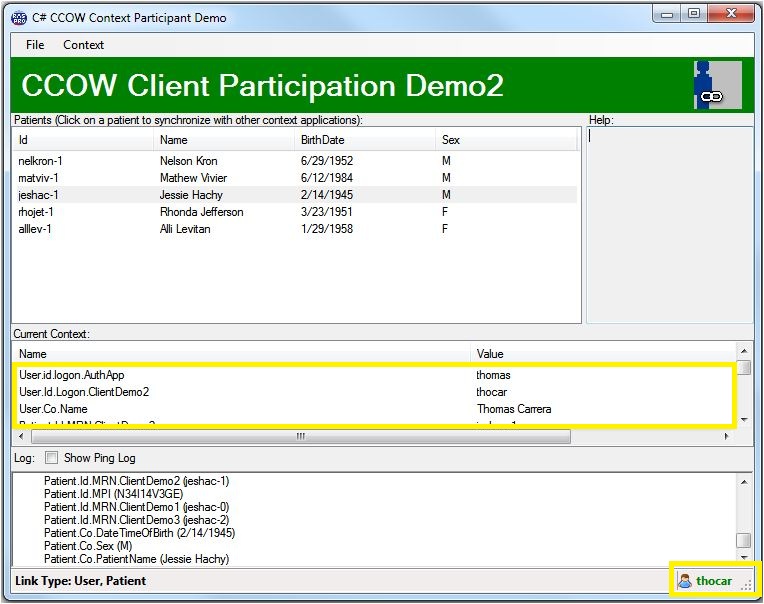
When the demos are launched with SSO enabled, the Participant Demo 2 will be able to log on the additional user (Thomas).
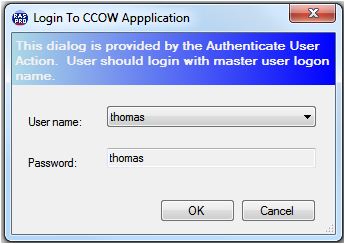
After the Participant Demo 2 is launched you will be able to see the user is set to Thomas Carrera in the common context.
-
Any of the other participant demos that are launched with the SSO enabled the extra user will not be authenticated and not be able to continue. The following message will appear:
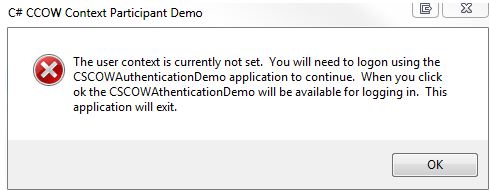
This behavior is expected in a secure common context. When the Authentication Repository is unable to authenticate the user for the application, it protects against unauthorized access.
-
If the demos are launched with the SSO disabled
- The Participant 2 Demo can select the additional user and log into the application.
- The other participant demos won't have the additional user available. To access them the user would have to supply different credentials.
-
