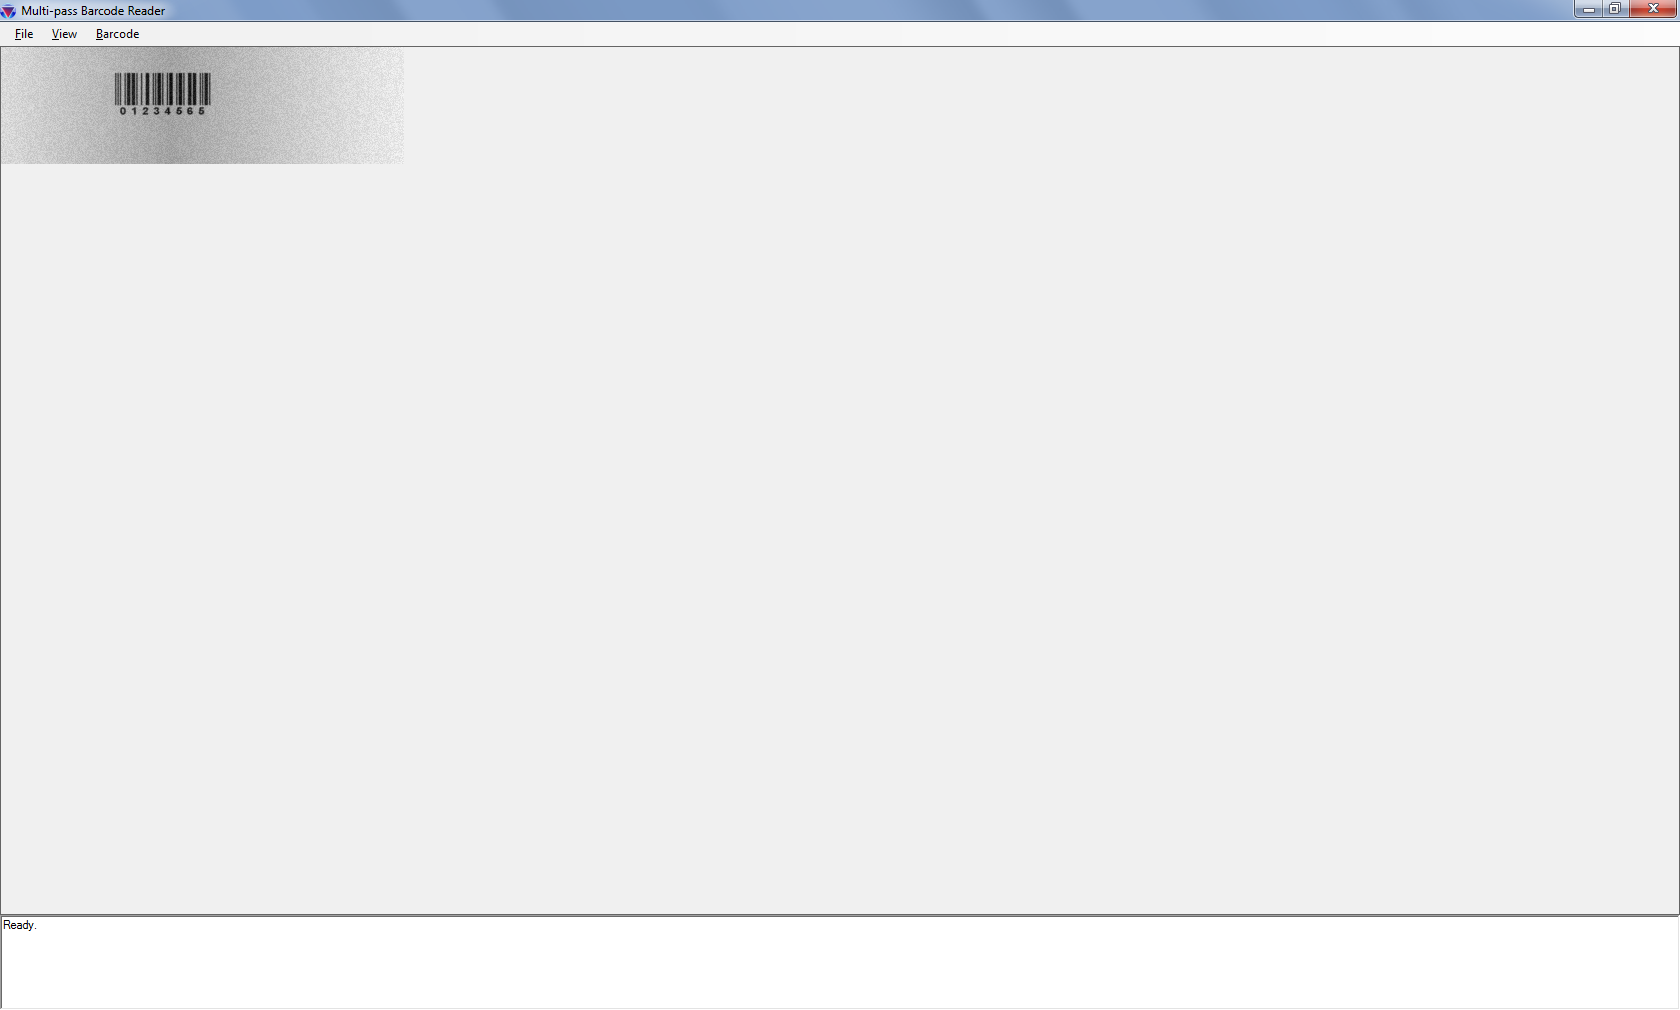
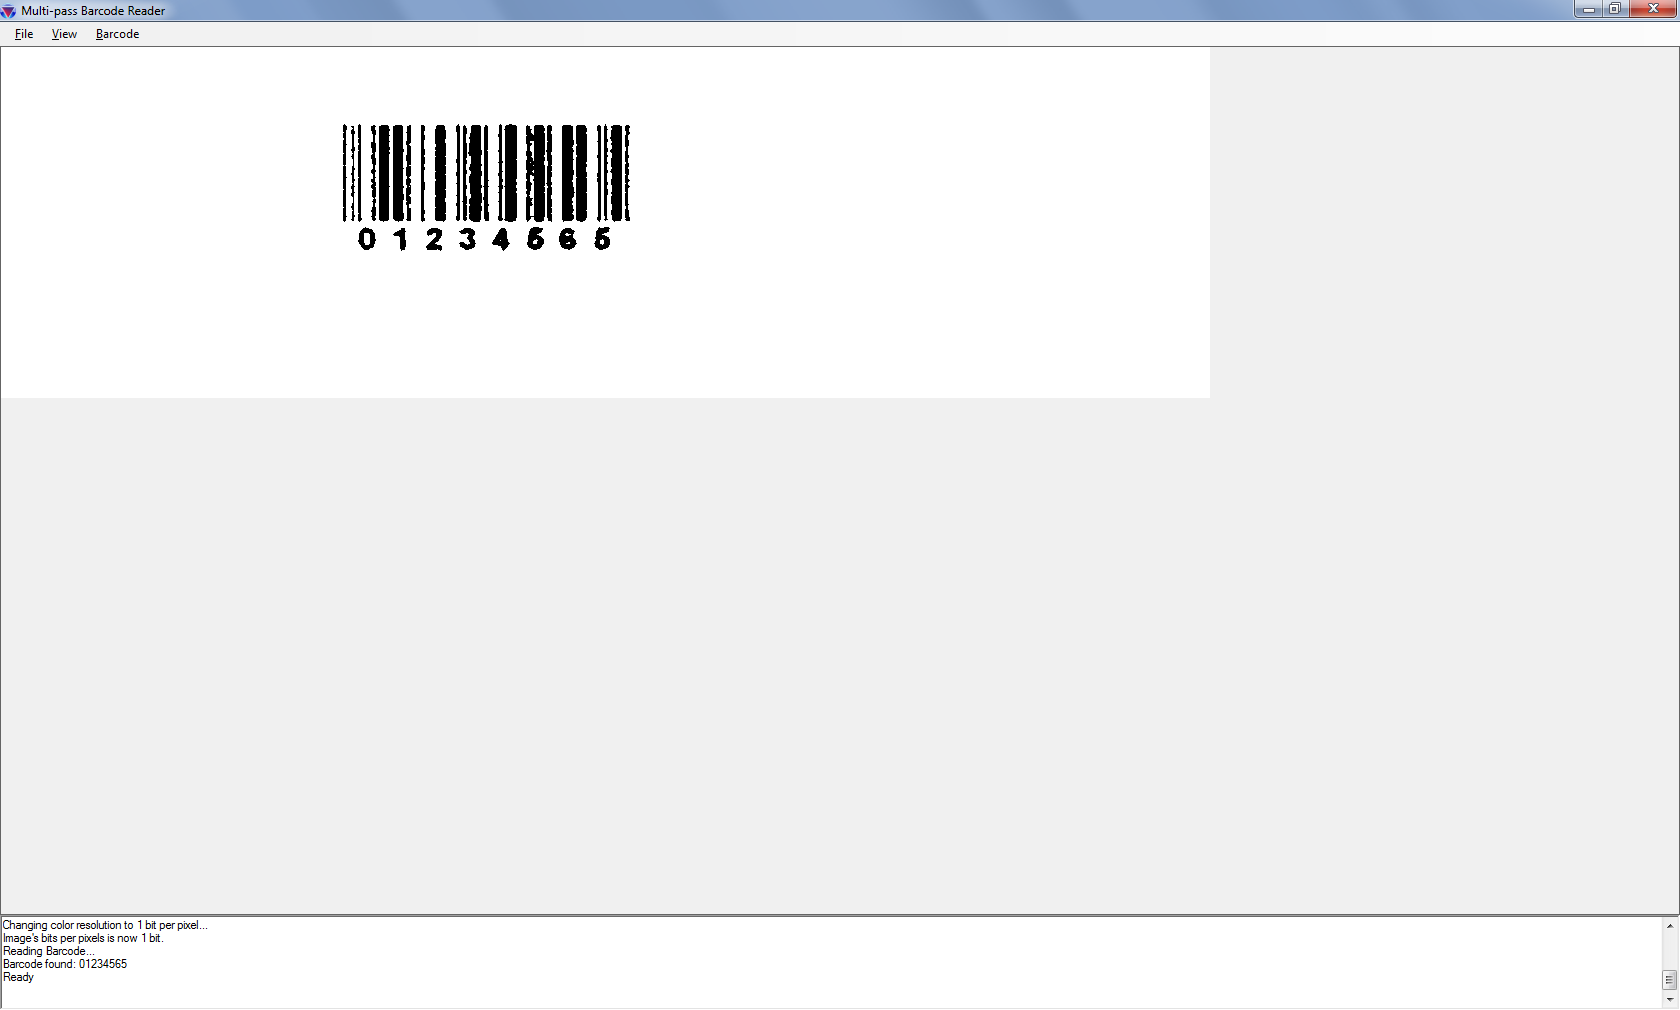
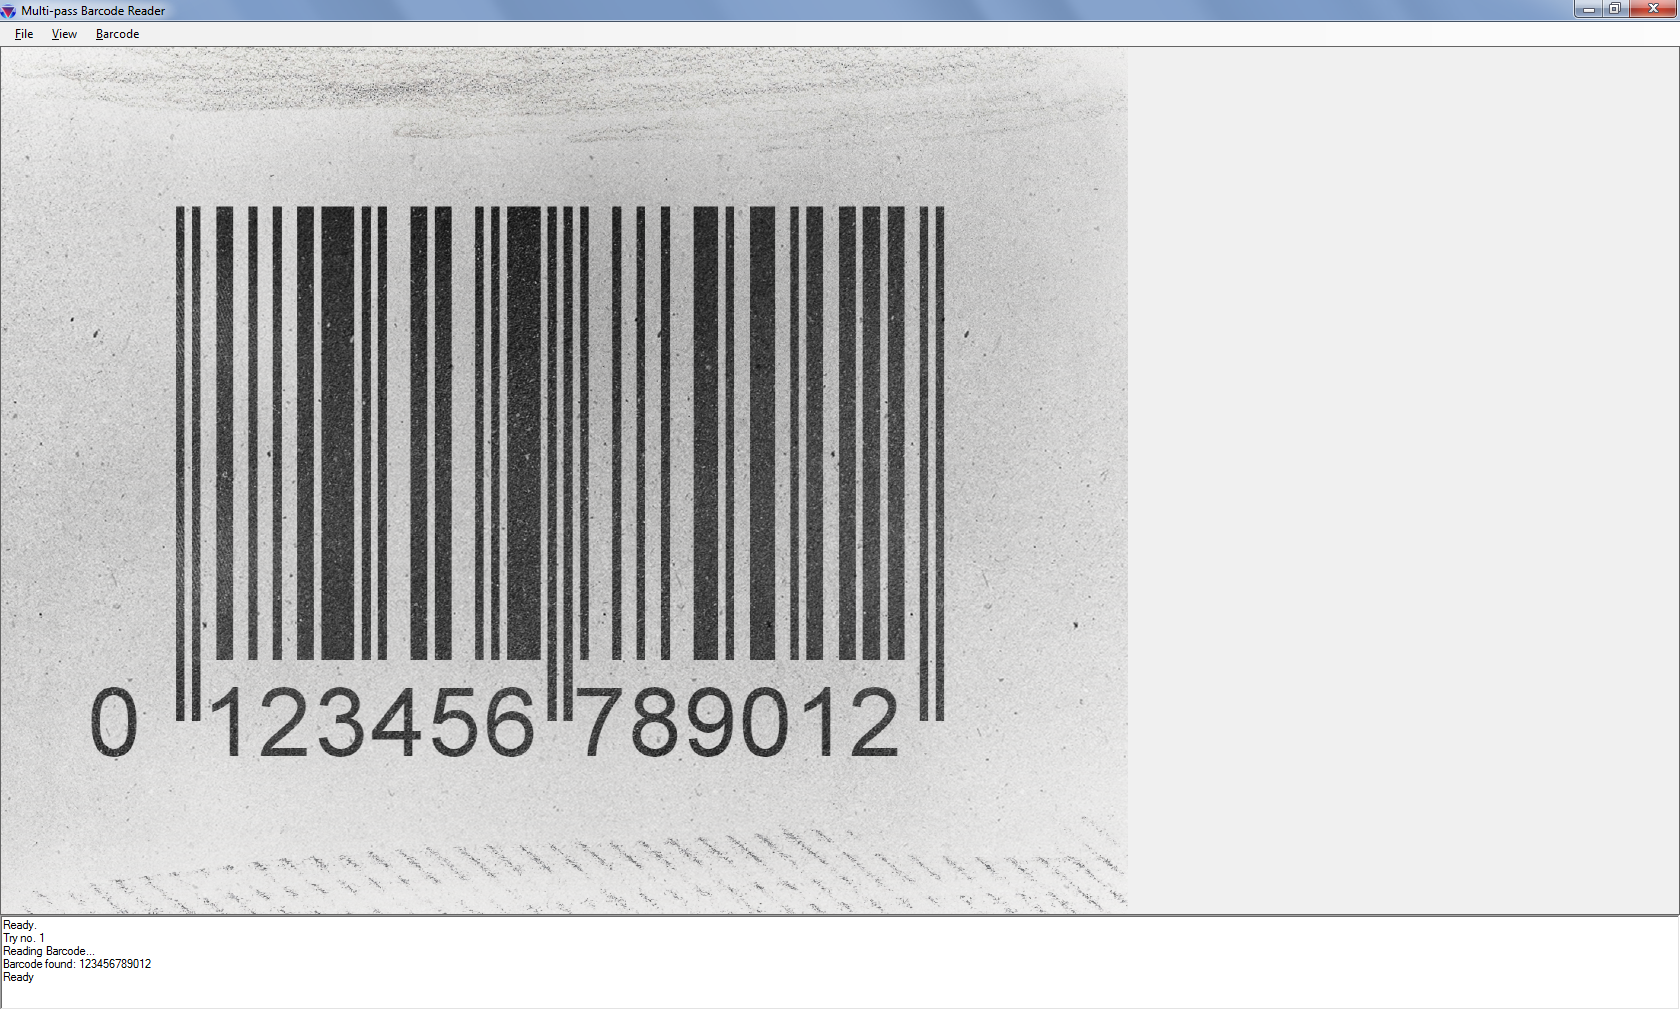
As part of the LEAD Technologies 25th anniversary, we are creating 25 projects in 25 days to celebrate LEAD’s depth of features and ease of use. Today’s project comes from Faris.
What it Does
This project will perform various image cleanup functions until a barcode is recognized using LEADTOOLS Version 19. To run the project, extract it to the C:\LEADTOOLS 19\Examples\DotNet\CS directory.
Features Used
Development Progress Journal
My name is Faris and I’m going to create a program which will try recognizing a barcode. If it fails, it will perform different image processing operations on the loaded image then try again after each operation. The total number of tries is 4. The image processing operations are stacked on the same image. The image processing is done to clean-up the barcode for the barcode engine to recognize since unclear images tend to not be recognized from the first try.
In this project, I will use LEADTOOLS Document Imaging SDK and program using .NET C# programming language. LEADTOOLS Document Imaging SDK provides me with the ability to read 1D and 2D barcodes and also the ability to perform image processing operations. The reading operation will go through 4 steps: read the barcode as is without any modification, increase the image’s size and Dots per Inch (DPI) if its resolution is below 300 DPI, perform auto-binarize operation on the image and change its bits per pixel (BPP) to 1, and finally perform the Minimum image processing algorithm on the image.
If all 4 steps fail, then no barcode was recognized.
Note that this is not considered a complete solution for all cases, but rather a template that can be customized based on the nature of images typically present in a work environment. If these 4 steps are used with the wrong images, they may actually worsen the image rather than improve it.
First, I will start with a new WinForms application in Visual Studio 2010. In the form, I will add a menu, a Rich Textbox to show the operation currently being performed by the program, and our
ImageViewercomponent to view the loaded image. I will also add the needed SDK references for loading and processing the image, and for barcode functionality.I have now added the needed code to load the image, which only took me a few minutes because our SDK greatly simplifies loading almost any type of image on Earth.
To read a barcode, I will need to use LEADTOOLS
BarcodeEngineclass.
Documentation: BarcodeEngine classThe barcode can be easily read using a single line of code with
ReadBarcodemethod.
Documentation: ReadBarcodeThe program will look in all symbologies and in both horizontal and vertical directions. The directions should be set using
BarcodeReadOptionsclass. As I haven’t used that class often, I’m using the example in our online help documentation to set the default barcode options except for the barcode direction, which I will change to use both horizontal and vertical.
Documentation: BarcodeReadOptionsAfter about one hour, basic barcode reading for all types is ready. Next, I will add the different processing features.
In my code, I’m using a
switchstatement to go through the current iteration. Reading is done after every operation, which means placingReadBarcodemethod outside the scope ofswitchcase. The first case (case 1) is not taken into consideration as nothing will be changed on the current loaded image.For the other cases, I used the corresponding Command class with the image processing operation:
ResizeCommandclass to resize the image. (Note: This does NOT affect the DPI, so I change the DPI using theXResolutionandYResolutionproperties of theRasterImageobject)AutoBinarizeCommandclass to convert the image to B/W thenColorResolutionCommandclass to change the image’s BPP.MinimumCommandclass to dilate dark objects.The commands mentioned above helped me apply image processing operations with only a few lines of code. Also, LEADTOOLS’ online help documentation provided me with a small code snippet to use as a reference or to take it as is. For example, here’s the help topic for the
MinimumCommandclass:
Documentation: MinimumCommandThis part is now done and it took about one hour of work.
Next I will be finishing the interface and finalizing exception handling and user interaction.
This took about an hour and a half and I’m now satisfied with how the program looks and interacts.
Lastly comes testing, for which I will use different images with barcodes.
This part took more time than the previous steps combined. The LEADTOOLS barcode engine itself is powerful, so many of the images I tested with did not need my processing functions. I also tested on multiple images which were of poor quality, and the program managed to clean them up using the image processing operations I implemented. To completely test the application, I had to take an image with a barcode in it, then lower its quality using different processing techniques so as to go through all implemented image processing operations. All testing took about 4 hours.
The total amount of time taken to develop, debug and test the application from scratch was 7 and a half hours. Without LEADTOOLS SDK helping me finish all functionality coding in only 2 hours, this application would not have been possible to finish in a single day’s work.
Download the Project
The source code for this sample project can be downloaded from here.


