DICOM is the leading standard to store and transmit medical information and images. LEADTOOLS offers a feature packed zero-footprint DICOM viewer to display DICOM images and studies from all disciplines and modalities. Our customizable web solution is perfect for any developer that needs a fast DICOM viewer with advanced features such as 3D volume rendering, DICOM Overlay, Softcopy Presentation State, and so much more.
With just the few lines of code below, a powerful DICOM viewer capable of window leveling, scaling, zooming, stack scrolling, and more can be embedded into any webpage. Visit our documentation for a complete tutorial on how to Load and Display a DICOM Image in the Medical Viewer.
    window.onload = function () {
        // Get the parent DIV
        var imageViewerDiv = document.getElementById("MedicalViewerParentDiv");
        // Create the medical viewer control, and specify the number or rows and columns.
        var viewer = new lt.Controls.Medical.MedicalViewer(imageViewerDiv, 2, 2);
        // [optional] Update the splitter size so it become thick and easy to move.
        viewer.get_gridLayout().set_splitterSize(7);
        // Create a cell name
        var cellName = "MedicalCell" + Date.now();
        // Create a cell. It will contain an image or a series of images, based on how many Frames are added (see below for mor details).
        var cell = new lt.Controls.Medical.Cell(viewer, viewer.get_divId(), 1, 1);
        // Set the show border to "true", to show a border around the cell.
        cell.set_showFrameBorder(true);
        // Add the cell to the viewer.
        viewer.layout.get_items().add(cell);
        // [optional] Select the cell (it can also be selected by clicking on it.)
        cell.set_selected(true);
        // Now create a frame object which will hold the image inside the cell.
        var cellFrame = new lt.Controls.Medical.Frame(cell);
        // Add the frame to the cell class.
        cell.get_frames().add(cellFrame);
        // we are now going to download an image from LEADTOOLS medical web service demo.
        var xhttp = new XMLHttpRequest();
        xhttp.onreadystatechange = function (data) { if(this.readyState == 4 && this.status == 200) {
        // here we got the authentication code that we need to retrieve the images from LEADTOOLS database.
        authenticationCode = encodeURIComponent(this.responseText);
        // now, this is the MRTI info that contains the image information, width, height, tiles...etc.
        var mrtiInfo = new lt.Controls.Medical.MRTIImage();
        // The image dpi.
        mrtiInfo.fullDpi = lt.LeadSizeD.create(150, 150);
        // the tile size, recommended value is 256
        mrtiInfo.tileSize = lt.LeadSizeD.create(256, 256);
        mrtiInfo.frameIndex = 0;
        // does this image support window level.
        mrtiInfo.supportWindowLevel = true;
        // different resolution for the image.
        var resolutions = [
        { width: 2460, height: 2970 },
        { width: 1230, height: 1485},
        { width: 615, height: 742 },
        { width: 307, height: 371 },
        { width: 153, height: 185},
        { width: 76, height: 92 },
        ];
        mrtiInfo.resolutions = [];
        for (var i = 0; i < resolutions.length; i++) { mrtiInfo.resolutions[i]=lt.LeadSizeD.create( resolutions[i].width, resolutions[i].height ); }
        // the image width and height. cellFrame.set_width(mrtiInfo.resolutions[0].width);
        cellFrame.set_height(mrtiInfo.resolutions[0].height);
        // the image full size.
        mrtiInfo.fullSize=lt.LeadSizeD.create(
        cellFrame.get_width(), cellFrame.get_height() );
        // now we need the image URL, var
        imageUri="http://localhost/MedicalWebService/ObjectRetrieveService.svc" ; imageUri +="/GetImageTile?auth=" ;
        imageUri +=authenticationCode; // this the image instance UID, change this if you want to retrieve anything else.
        imageUri +="&instance=1.2.840.114257.1.9.1245.56421.52314.1187852.12457" ;
        mrtiInfo.imageUri=imageUri;
        // set this info to the cell frame.
        cellFrame.mrtiInfo=mrtiInfo;
        // now we need to set the information for the image so we cando window level.
        var imageInfo=new lt.Controls.Medical.DICOMImageInformation();
        // set the image width and height.
        imageInfo.width=2460;
        imageInfo.height=2970;
        // bits per pixel for the image
        imageInfo.bitsPerPixel=16;
        // low and high bit.
        imageInfo.lowBit=0;
        imageInfo.highBit=11;
        // other information, setting some of them to zero means that the toolkit will try and calculate it by itself, but you can always get those values from the DicomDataSet.
        imageInfo.modalityIntercept=0; imageInfo.modalitySlope=1;
        imageInfo.minValue=0; imageInfo.maxValue=0;
        imageInfo.windowWidth=0;
        imageInfo.windowCenter=0;
        imageInfo.signed=false;
        imageInfo.photometricInterpretation="MONOCHROME1" ;
        imageInfo.firstStoredPixelValueMapped=0;
        // set information tothe frame.
        cellFrame.set_information(imageInfo); } };
        // We are trying here to get an image from the Leadtools database, we need to login and get the authentication code.
        xhttp.open( "POST", "http://localhost/MedicalWebService/AuthenticationService.svc/AuthenticateUser" , true );
        xhttp.setRequestHeader("Content-Type", "application/json; charset=UTF-8" );
        // we log in as a 'guest' , after calling the below line, we will receive the authentication code sent via 'onreadystatechange' above.
        xhttp.send(
        JSON.stringify({ userName: "<Medical Web Service User Name>" ,
        password: "<Medical Web Service Password>" ,
        userData: "" , })
        );
        // [optional] Add an action that allows the user to move the loaded image using either the mouse or by touch and drag. we are adding an offset action.
        cell.setCommand(1, new lt.Controls.Medical.OffsetAction());
        // [optional] Add an action that allows the user to do window level on the image.
        cell.setCommand(2, new lt.Controls.Medical.WindowLevelAction());
        // [optional] Run the action. Now if the user clicks or touches the image and drags it, the image will move correspondingly.
        cell.runCommand(2);
        // [optional] Create an overlay text that will appear at the top of the loaded image.
        var overlay=new lt.Controls.Medical.OverlayText();
        // [optional] Set the aligment for the overlay text.

        overlay.set_alignment(lt.Controls.Medical.OverlayAlignment.topLeft);
        // [optional] Set the row index of overlay
        text. overlay.set_positionIndex(0);
        // [optional] add window level overlay text, this will change when you click and drag the mouse.
        overlay.set_type(lt.Controls.Medical.OverlayTextType.windowLevel);
        }
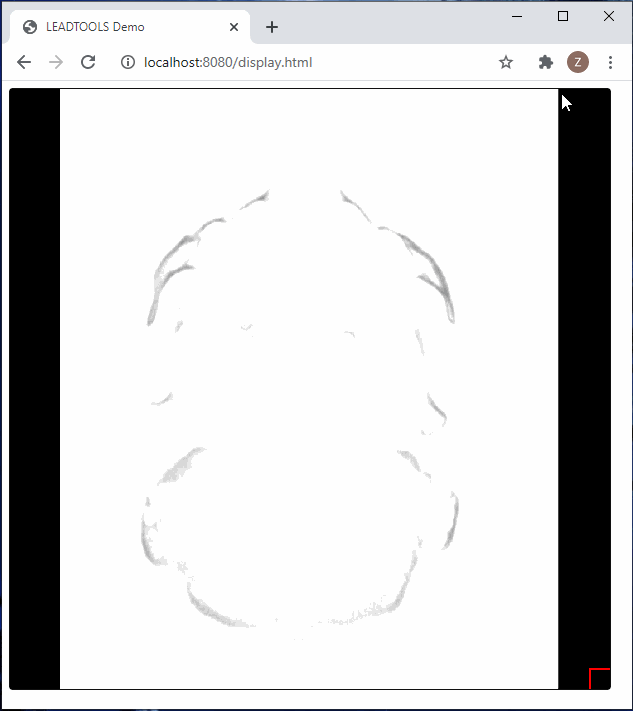
Try it out!
To test this for yourself, make sure to get the latest LEADTOOLS SDK code for free straight from our site if you have not already. This trial is good for 60 days and comes with unlimited chat and email support.
Support
Need help getting this sample up and going? Contact our support team for free technical support! For pricing or licensing questions, you can contact our sales team ([email protected]) or call us at 704-332-5532.
