The recent update to 17.5 added a lot of features, but there is some really cool stuff for medical imaging developers creating classic PACS workstation and DICOM viewing applications. Here's the list of features from our press materials and I'll highlight some of the big ones below:
- Improved annotation support including multi-select, lock object, events and more
- Single action can now be assigned to multiple buttons
- Ability to use Magnify Glass without clicking mouse button
- Optimized stack operation
- Dramatically decreased image load times
- Probe tool enhancements including signed image and custom text support
- New display features and usability enhancements
- Owner draw Spy Glass
- PET-CT Fusion display
- Snap ruler
- Dynamic zoom which maintains visibility of a region of interest
- Customizable origin for zoom operations
- Auto apply DICOM Photometric Interpretation
- Custom LUT support for Window Level
- Cine playback features including frames per second and window level
- Programmatically control window level, image offset and viewer splitters
PET/CT Fusion
 We received a lot of requests regarding PET/CT Fusion. Fusion is a process of displaying two or more images of different modalities together, most often PET and CT. This technique is useful because it creates a more accurate anatomical context where you can see multiple tissue types and body parts together at the same time. Technically, it was already possible with our vast array of image processing functions which can combine images together, but it was fairly complicated due to the 8-16 extended grayscale pixel data, transparency and other properties required for a high quality fusion image that is actually helpful to medical practitioners. Therefore, we took it upon ourselves to automate the process with customization options that make it simple to add to any DICOM Viewing application.
Owner draw Spy Glass
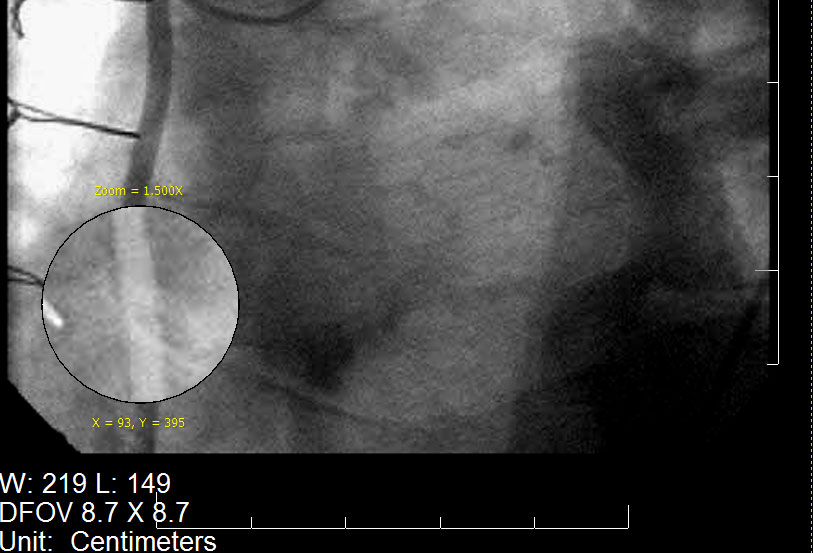
 The owner draw spy glass idea came from customers wanting more from the magnify glass. What our engineers have done here is created a new built-in action and the sends a copy of the image through the event which gives users the freedom to do whatever they want. Most often, customers will want to show some kind of image processing effect, different window level values, overlay text or any combination of such examples.
Auto apply DICOM Photometric Interpretation
The Photometric Interpretation DICOM tag (0028,0004) dictates how the pixel data is to be interpreted. Most commonly its value is either MONOCHROME1 or MONOCHROME2 but can also indicate RGB color spaces as well. In the case of 8-16 bit extended grayscale image data, MONOCHROME1 and MONOCHROME2 inform what color shades the pixel intensities represent (i.e. low=bright/high=dark or low=dark/high=bright respectively). This is a commonly overlooked tag when displaying DICOM images and can result in an images colors being unexpectedly inverted. To make our customers' jobs easier, our image viewer control now parses the DICOM data set, looks for the Photometric Interpretation tag (and other related tags) and sets all the necessary properties in the viewer so that the image will display perfectly every time.Thanks,
Otis Goodwin
