My first objective was to create a simple Metro application that would load and display an image using our HTML5 viewer control. I fired up Visual Studio, created a new JavaScript Metro application, and I was ready to start coding. The first step was to add the LEADTOOLS JavaScript files to my HTML.
<script type="text/javascript" src="/js/Leadtools.js"></script>
<script type="text/javascript" src="/js/Leadtools.Controls.js"></script>
The next step was to create the actual viewer element. Adding the viewer is as simple as creating a div and giving it a unique ID. This div will serve as the parent container for the viewer.
<div id="imageViewerDiv" style="width: 600px; height: 600px"></div>
Then I created a new instance of the viewer, passing the id of the div element from earlier with a simple JavaScript function
function InitViewer() {
   // Create the viewer
   var createOptions = new Leadtools.Controls.ImageViewerCreateOptions(
         "imageViewerDiv", "myViewer");
   viewer = new Leadtools.Controls.ImageViewer(createOptions);
   viewer.add_imageError(imageError);
   viewer.set_imageUrl("http://demo.leadtools.com/HTML5/images/pngimage.png");
}
var imageError = function (sender, e) {
   // Get the image element
   var imageElement = e.get_nativeElementEvent().srcElement;
   console.log("Error opening: " + imageElement.src);
};
The ImageViewerCreateOptions class is used to specify how the viewer will be created, and these options are passed to the ImageViewer constructor. Additionally, I added the ImageError event which provides some extra information if an image cannot be loaded (e.g. incorrect URL/filename, corrupt file, etc.). The last line of course sets the URL of the image we want to display in the viewer.
The
InitViewer function should be called from the app.onactivated event which is automatically generated by Visual Studio when a blank project is created.
app.onactivated = function (eventObject) {
   if (eventObject.detail.kind ===
         Windows.ApplicationModel.Activation.ActivationKind.launch) {
      if (eventObject.detail.previousExecutionState !==
            Windows.ApplicationModel.Activation.ApplicationExecutionState.terminated) {
         // TODO: This application has been newly launched. Initialize
         // your application here.
         InitViewer();
      } else {
         // TODO: This application has been reactivated from suspension.
         // Restore application state here.
         InitViewer();
      }
      WinJS.UI.processAll();
   }
};
After those simple steps, I was ready to run my project and I was happy to see an image loaded in my viewer!
[caption id="attachment_676" align="aligncenter" caption="HTML5 Basic Viewer"]
 [/caption]
That was pretty easy, but frankly, it doesn't do much more than a standard
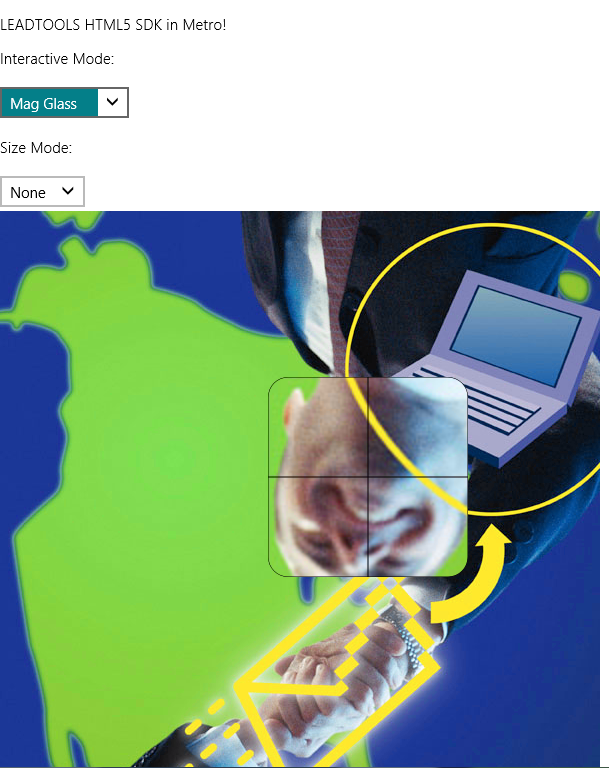
img tag. This is where it gets fun, because just like the viewers in our other interfaces, the HTML5 viewer supports various interactive modes, size modes, image processing, annotations an more. For the sake of this simple example I'll stick to interactive and size modes. The interactive modes enable mouse and multi-touch gesture actions such as magnify glass, pinch and zoom, pan, etc.; and the size modes control how the image is scaled or stretched in relation to the viewer.
The first step was two add some combo boxes in the HTML to make it easy to choose from the various interactive and size modes.
<p>Interactive Mode:</p>
   <select id="_cmbInteractiveMode" name="select" onchange="UpdateInteractiveMode();">
      <option>None</option>
      <option>Pan</option>
      <option>ZoomTo</option>
      <option>Mag Glass</option>
      <option>Center At</option>
      <option>Rubberband</option>
   </select>
   <p>Size Mode:</p>
   <select id="_cmbSizeMode" name="select" onchange="UpdateSizeMode();">
      <option>None</option>
      <option>Fit</option>
   </select>
   <div id="imageViewerDiv" style="width: 600px; height: 600px"></div>
As you can see, I subscribed to the onchange events so that I could update the selected option in the viewer. Next, I added their respective event handlers to the JavaScript which call set_sizeMode and set_defaultInteractiveMode with the desired options. While there are many interactive and size modes available, I chose a few of the most popular ones to get an idea of how they work. There is even support for creating custom interactive modes should you have a need for that.
function UpdateSizeMode() {
   var element = document.getElementById('_cmbSizeMode');
   var mode = element.options[element.selectedIndex].innerHTML;
   switch (mode) {
      case "Fit":
         viewer.set_sizeMode(Leadtools.Controls.ImageViewerSizeMode.fit);
         break;
      default:
         viewer.set_sizeMode(Leadtools.Controls.ImageViewerSizeMode.none);
         break;
   }
}

function UpdateInteractiveMode() {
   var element = document.getElementById('_cmbInteractiveMode');
   var mode = element.options[element.selectedIndex].innerHTML;
   switch (mode)
   {
      case "Pan":
         viewer.set_defaultInteractiveMode(
            new Leadtools.Controls.ImageViewerPanZoomInteractiveMode);
         break;
      case "ZoomTo":
         viewer.set_defaultInteractiveMode(
            new Leadtools.Controls.ImageViewerZoomToInteractiveMode);
         break;
      case "Mag Glass":
         viewer.set_defaultInteractiveMode(
            new Leadtools.Controls.ImageViewerMagnifyGlassInteractiveMode);
         break;
      case "Center At":
         viewer.set_defaultInteractiveMode(
            new Leadtools.Controls.ImageViewerCenterAtInteractiveMode);
         break;
      case "Rubberband":
         viewer.set_defaultInteractiveMode(
            new Leadtools.Controls.ImageViewerRubberBandInteractiveMode);
         break;
      default:
         viewer.set_defaultInteractiveMode(
            new Leadtools.Controls.ImageViewerNoneInteractiveMode);
         break;
   }
}
Running the project with the updated code allows me to specify various interactive and size modes.
[caption id="attachment_676" align="aligncenter" caption="Viewer With Interactive and Size Modes"]
 [/caption]
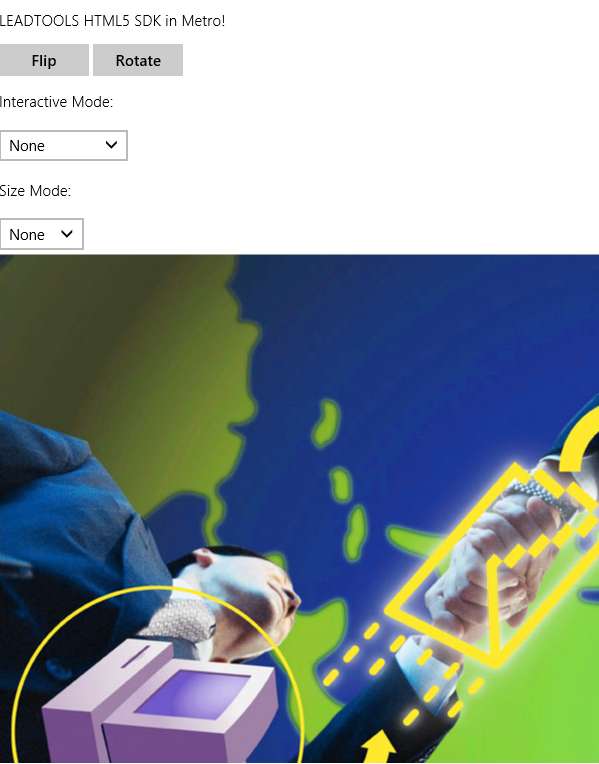
Okay, at first I said I was only going to show interactive and size modes so please forgive me for getting carried away with my new toy! Image processing is a foundational feature of LEADTOOLS so I would be remiss to not show a couple of the HTML5 viewer's image processing effects. Here is the HTML and JavaScript code for adding two buttons that flip and rotate the image.
<input id="_btnFlip" type="button" value="Flip" onclick="Flip();" />
<input id="_btnRotate" type="button" value="Rotate" onclick="Rotate();" />
function Flip() {
   viewer.set_flip(!viewer.get_flip());
}

function Rotate() {
   viewer.set_rotateAngle(viewer.get_rotateAngle() + 15);
}
[caption id="attachment_676" align="aligncenter" caption="Viewer With Effects"] [/caption]
As I mentioned before, there are a lot more features in the new HTML5 SDK such as annotations, RESTful web services, medical viewer, and much more which I plan on covering in future posts. For the developers looking to create Metro applications using C++, C#, and VB, stay tuned as a full-featured Metro SDK is in the works.
The complete project I created in this post can be downloaded here.
Thanks,
Otis Goodwin
