Take the following steps to create and run a program in Microsoft Expression Blend to add a magnifying glass effect using LEADTOOLS RasterImageViewer.
- Start Microsoft Expression Blend.
- In File-->Open Project find the project ImageBrowser you created in previous tutorial. Find the ImageBrowser.csproj file name and choose Open.
- Choose Objects and Timeline-->LayoutRoot, then RasterImageViewer.
- Resize the Window and RasterImageViewer to accommodate a picture of approximately 800X600 (Width x Height in pixels)
- On the right side of the screen, find and select Properties-->Miscellaneous-->InteractiveMode, and set it to MagnifyGlass.
- Build, and Run the program to test it (Project-->Test Project or F5). Over the picture, left-click to display the magnifying glass. It can be moved by holding the left mouse button down. You can set the magnifying glass to a fixed position by left-clicking and holding it, then right-clicking.
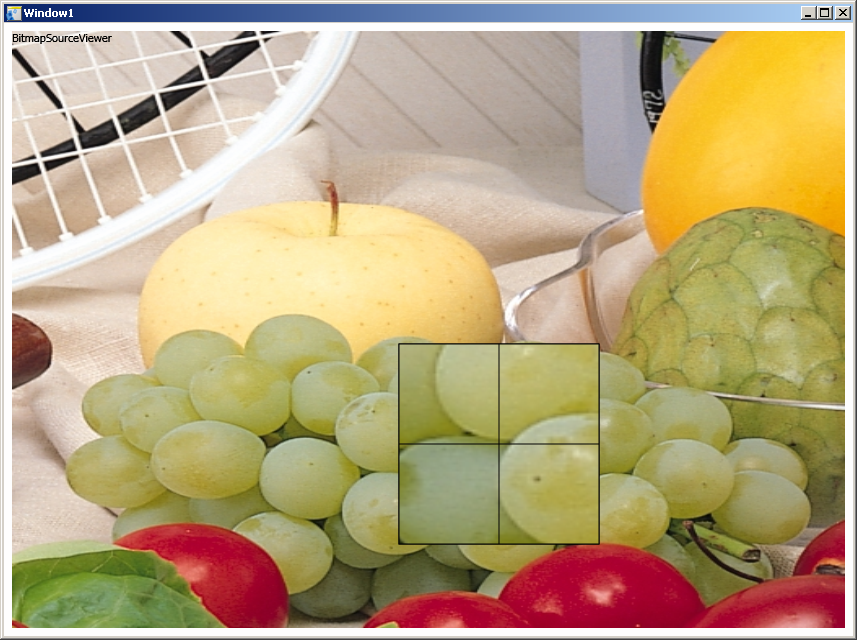
- Notice that additional effects are also available in InteractiveMode that you can try out.
-
[Window1.xaml]
              <Window
                 xmlns="http://schemas.microsoft.com/winfx/2006/xaml/presentation"
                 xmlns:x="http://schemas.microsoft.com/winfx/2006/xaml"
                 x:Class="ImageBrowser.Window1"
                 x:Name="Window"
                 Title="Window1"
                 Width="1000" Height="800" xmlns:Leadtools_Windows_Controls="clr-namespace:Leadtools.Windows.Controls;assembly="Leadtools.Windows.Controls">
                 <Leadtools_Windows_Controls:RasterImageViewer Width="800" Height="600" Content="RasterImageViewer" Source="NaturalFruits.jpg" InteractiveMode="MagnifyGlass"/>
              </Window>