 Encrypt Tool
 Encrypt Tool
Note: This topic is for Document/Medical only.
The encrypt annotation object (ANN_OBJECT_ENCRYPT) is a rectangular object that is used to encrypt rectangular portions of a bitmap. It can also be used to encrypt the entire bitmap.
In design mode, the Encrypt object is created by selecting the Encrypt tool and then clicking and dragging the mouse to create the rectangular Encrypt object. Then while the object is selected, right-click the object and select the Encrypt item on the Encrypt Properties menu, enter the key in the Encrypt Properties dialog that appears, and then click Apply. After creating the Encrypt object it is necessary to call the AnnEncryptApply method to scramble the pixels underneath the object. In design mode, the Encrypt object is visible but partially transparent to show the part of the bitmap that it covers.
In run mode, the encrypt object is invisible. In run mode, if an encrypt object (state encryptor) has been applied to the bitmap, the pixels underneath the encryptor’s location are physically scrambled in a manner that depends upon the key used when the encrypt object was created.
An encrypt annotation has two metafiles--one for when it is an encryptor, and one for when it is a decryptor.
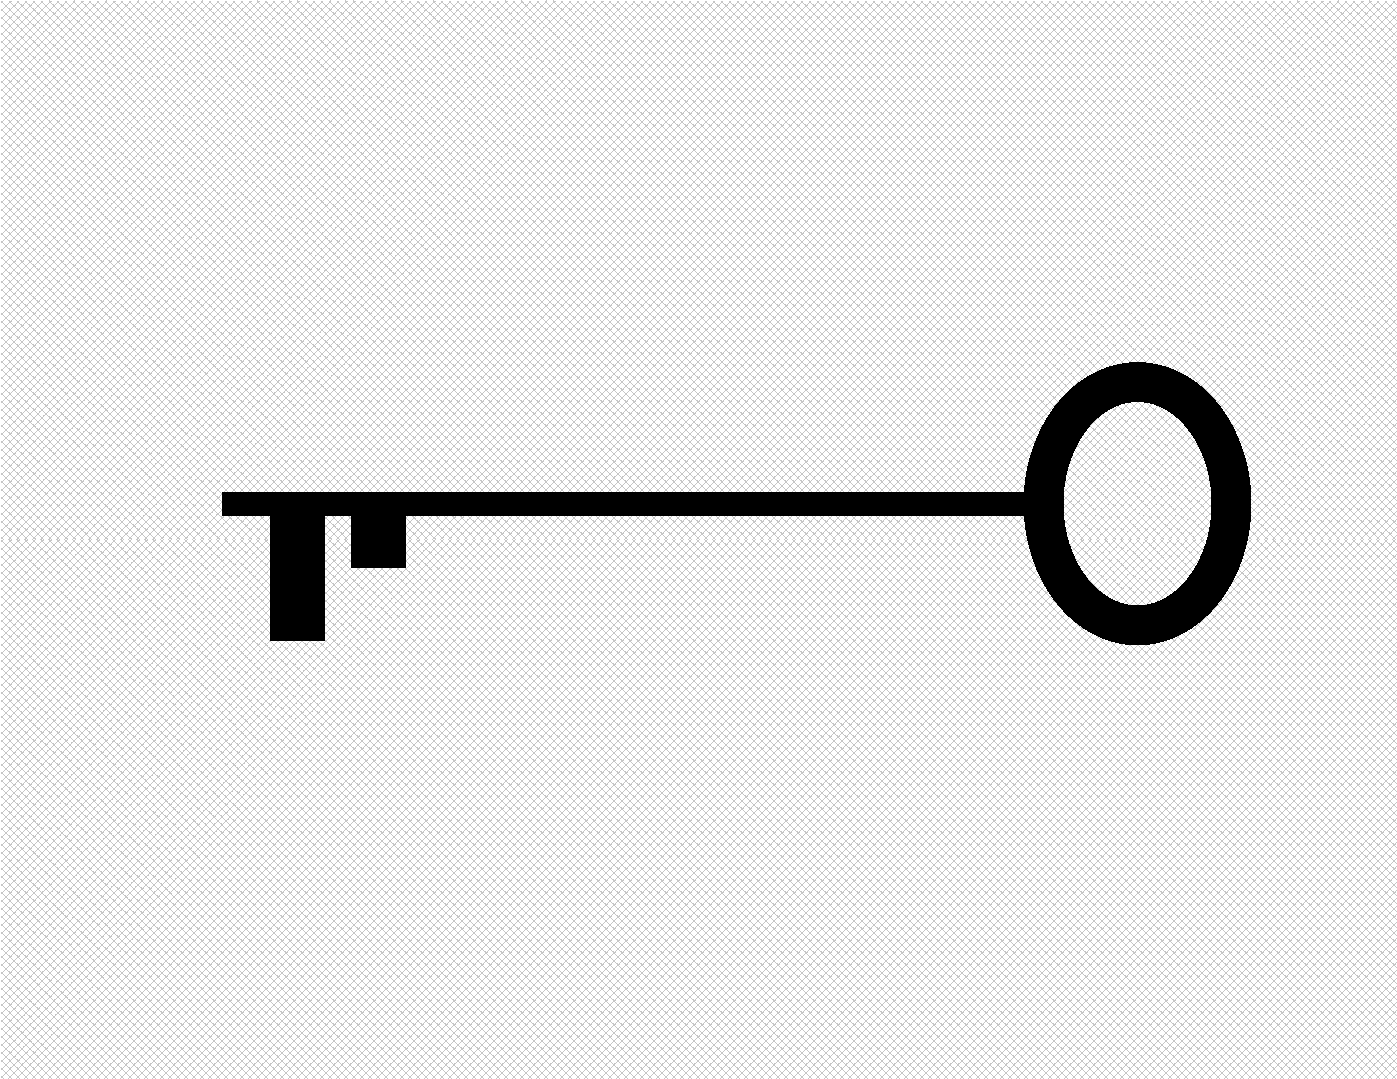
The encryptor metafile is changed with the Metafile option (in automation) or the AnnSetMetafile method. The default image is shown in the figure below:
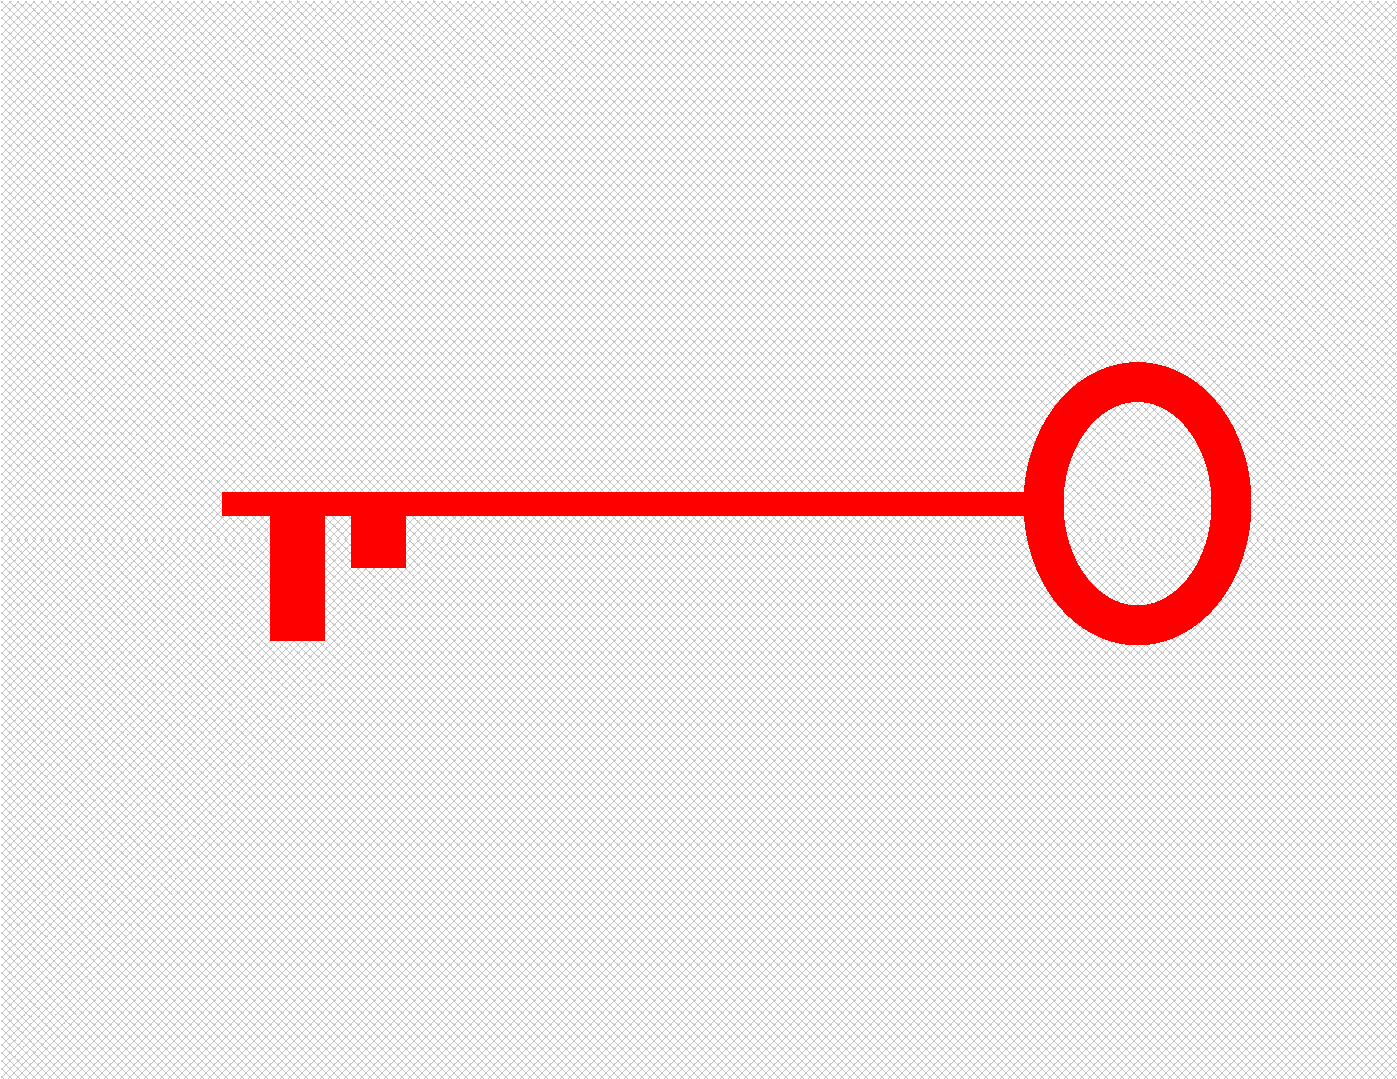
The decryptor metafile is changed with the Secondary Metafile option (in automation) or the AnnSetMetafile method. The default image is shown in the figure below:
If you have one or more encrypt objects selected and you change the "Metafile" then the encryptor metafile changes for all of the selected encrypt objects.
You can also change the metafile and secondary metafiles for all newly created encrypt objects by right-clicking on the image (but not on an annotation), selecting Default Properties and changing the primary/secondary metafiles.
Overlapping regions can be encrypted. When encrypting overlapping regions, note the following points:
 All annotation objects have an order in which
they are drawn (the Z-order).
All annotation objects have an order in which
they are drawn (the Z-order).
The encryptors are encrypted from the front
of the Z-order to the back.
Those that are drawn first are encrypted
first. Those that are drawn last ("on top" of other encryptors)
are encrypted last.
The Z-order can be changed through automation
by right-clicking and choosing "Send To Front" or "Send
To Back".
The decryptors are decrypted in reverse order
of the encryptors.
After creating an encrypt object by designating its key and location, you must call AnnEncryptApply to apply the encrypt object. Once applied, the portion of the bitmap under the encrypt object becomes scrambled, and the encrypt object changes state to become a decryptor. Using different keys before calling this function gives different scrambling patterns The decryptor state differs from the encryptor state in that a decryptor cannot be moved, and cannot be changed to an encryptor. The scrambling can be removed by calling AnnEncryptApply on the decryptor with the appropriate arguments. If successful, the decryptor state changes to encryptor. An encrypt object in that encrytpor state can be moved, can have its key changed, and can be changed to a decryptor.
The encrypt object is useful for encrypting portions of a bitmap. After encrypting, the scrambled bitmap cannot easily be unscrambled without the associated annotation file. The scrambling can be removed by using the associated annotation file, or by using automation mode to manually change the encryptor to a decryptor, position it correctly, and setting the key appropriately.
When a bitmap that has had portion(s) of the bitmap encrypted is saved, the encryption information is saved with the rest of the annotation information in the associated annotation information file.
With low-level functions, you must define the size and position of the rectangle. In design mode, click on the object with the right mouse button to do the following:
Undo the last user action.
Cut or copy the object to the clipboard.
Delete the object.
Select all objects.
Bring the object to the front or send it
to the back.
Lock and unlock annotation objects. See
Password Dialog Box for Annotations.
Change the Name properties. See Name
Dialog Box for Annotations.
Select a metafile or secondary metafile to
load into the object. See Metafile
Dialog Box for Annotations.
Change the Encrypt properties. See Encrypt
Dialog Box for Annotations.
Set and manage hyperlink properties for an
object or group of objects.
|
Note: |
The actual management of hyperlink must be done through low-level implementation. Only the Menu Item "Hyperlink" and an associated event are provided through the automation object. For more information, refer to Implementing Annotation Hyperlinks. |
For information on flipping, reversing or rotating annotation objects, refer to Flipping, Reversing and Rotating Annotation Objects.
For low-level implementation details, refer to Encrypt Annotation Object.