As part of the LEAD Technologies 25th anniversary, we are creating 25 projects in 25 days to celebrate LEAD’s depth of features and ease of use. Today’s project comes from Amin.
What it Does
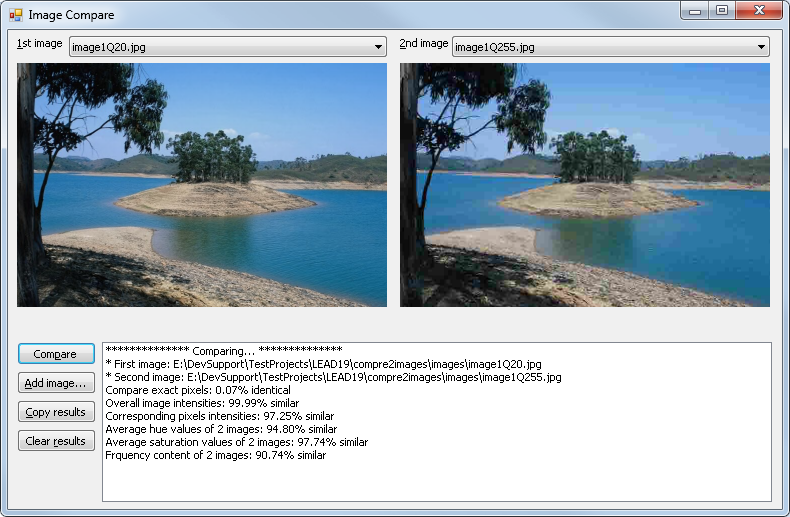
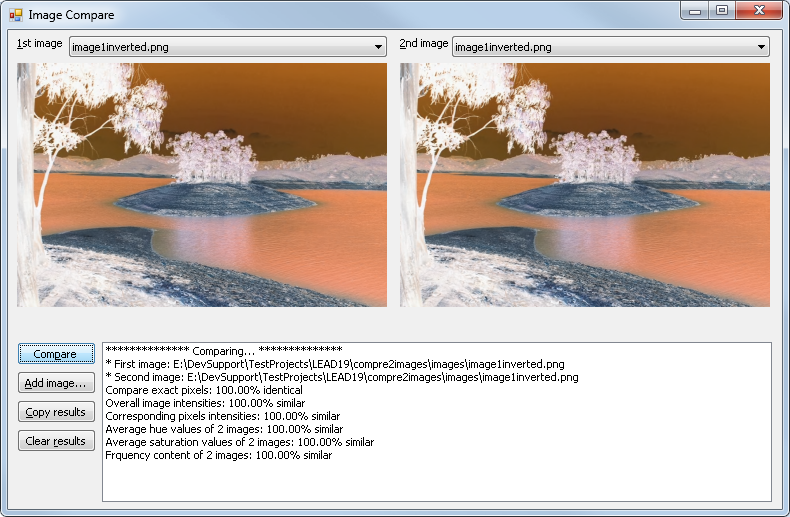
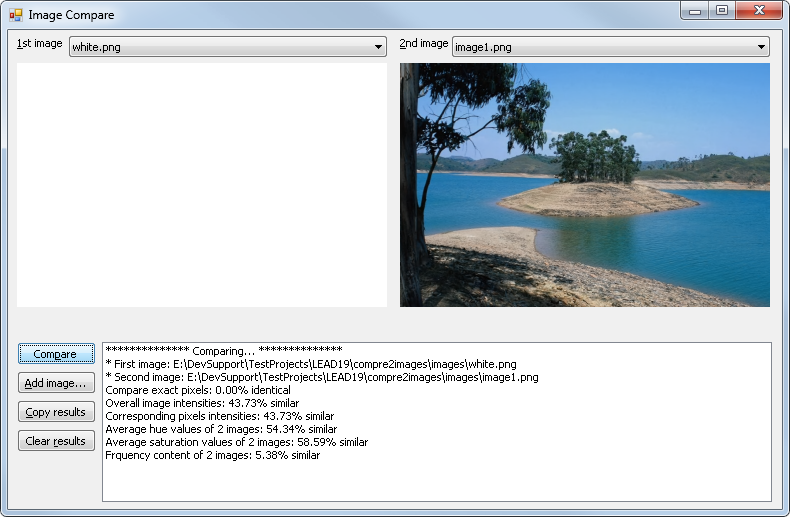
This C# WinForms application compares images with various image processing algorithms using LEADTOOLS Version 19.
Features Used
Development Progress Journal
Hello, my name is Amin and I’ll be creating a program that takes two images as input and calculates different measures of similarity between them using various techniques. I will be coding with C# using VS 2010 since its projects can be easily upgraded to later versions of Visual Studio.
First, I’ll start by creating a simple form that loads and displays two images and does a pixel-wise comparison. For that, I’ll use the
Leadtools.Controls.ImageViewercontrol along with theLeadtools.Codecs.RasterCodecs.Loadmethod.To perform comparison, I will use our
CombineCommandclass with theOperationXorflag, which will zero-out all pixels in the target image that are identical to their counterparts in the source image.The initial design and comparison code took me almost one hour, but I’m going to modify it a little. Instead of browsing and loading different images every time, I will add a bunch of test images to two combo boxes for ease of loading, and fill the two combo boxes at startup. This change took me another hour to finish.
Now I will add comparison criteria other than exact pixel matching.
The second comparison measure to be implemented is the average intensity of the image. If two bright (or two dark) images are compared this way, they’ll be found similar even if they’re different in all other aspects. This is coded rather quickly thanks to the
StatisticsInformationCommandclass, which can return the mean (average) of all image pixel intensity values using a couple of lines of code.The third comparison measure is pixel-by-pixel intensity comparison. This ignores the color contents so a color image will appear similar to a grayscale copy of itself. The implementation is also done quickly thanks to the same
CombineCommandclass. However, instead of theOperationXorflag I used theAbsoluteDifferenceflag because I want to compute a similarity value, not just an exact match indicator.Each of the above two comparisons took about an hour to implement.
The fourth and fifth comparison measures are related to color info and do not depend on the image’s brightness. I will use the
ColorSeparateCommandclass to obtain Hue and Saturation data for the two images, then use the same statistics command I used before to calculate mean values from these planes.Since both measures are related, I finished them together in about one hour.
The final comparison to perform will be a frequency domain similarity estimation. To obtain the frequency magnitudes, I’ll use our
FastFourierTransformCommandclass. Normally, FFT requires the image dimensions to be powers of two, but our function overcomes that using padding, so I used thePadOptimallyflag in my code.I also make sure both images have the same dimensions and resize them if necessary to 256×256 pixels, so that the output frequency data arrays have the same size.
This function alone took close to 3 hours to finish, but without LEADTOOLS, it would have probably taken me several days if not more.
Download the Project
The source code for this sample project can be downloaded from here. To run the project, extract it to the C:\LEADTOOLS 19\Examples\DotNet\CS directory.


